The Problem
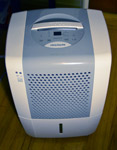 Last year was our first winter in our current house, and each morning we'd wake up to very humid, cold air and extremely fogged-up windows. With a newborn in the house, this problem needed a quick solution. We tried airing out the house during the day, but it didn't help much. So we bought a 50-pint Frigidaire dehumidifier and eagerly awaited its arrival. After one night of use, we knew the problem was solved.
Unfortunately, the dehumidifier introduced a new, and particularly annoying problem. The dehumidifier isn't particularly quiet when it's running (sounds like you're flying on a plane). The real problem is that it beeps very loudly when any button is pressed (on/off, fan speed, timer, humidity level, etc.) and it also beeps multiple times when the bucket is full. If this was in your damp basement, it wouldn't be a big deal, but we were using this in our bedroom. It's not fun to be awakened at 4am because either the bucket is full or kitty took a walk across the control panel.
Well, it's been a year since we bought it. With an expired 1-year warranty and a humid house, I decided to open up the unit and silence the beep once and for all! Here's how you can do it too.
Time & Tools Needed
 Tool needed: just a Phillips screwdriver
 Time needed: approx 10 minutes
Step-by-step Solution
-
Step 0
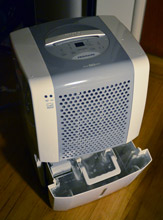 UNPLUG the dehumidifier from the outlet, empty the bucket, and remove the filter. Leave the bucket aside until you're done. Grab some paper towels or a rag since water might leak out.
-
Step 1
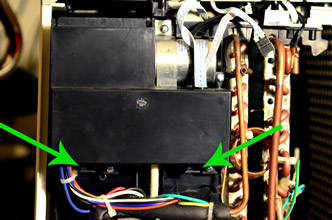
Remove the side panel and find the control circuits. In this case, we need to open the side panel on the same side as the power indicator light. To remove the side panel, remove the 5 external screws (shown in the photos below) from the back of the device.


Once you remove the screws, carefully unsnap the side panel by sliding it up. In my model, the side panel had two slotted tabs attached to the front grille. Be careful not to break these tabs. If it doesn't budge, look for another screw that you may have forgotten.
-
Step 2
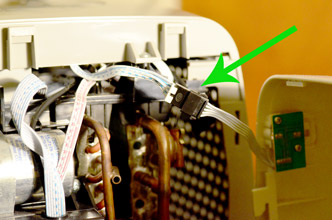
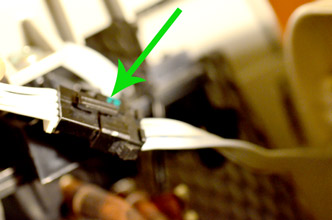
Open the side panel slowly and unplug the indicator light cable. Just pull up the little tab on the side of the connector and then slide them apart.
-
Step 3
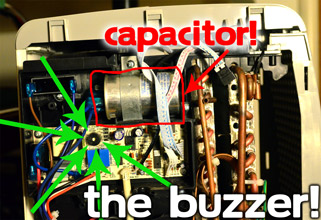
Identify the circuit box and open it. Look for a black plastic covering that all the wires seems to come out of. There are 2 plastic, locking tabs to disengage. Then slide the cover up to reveal the buzzer! Be very careful not to touch the capacitor since this can lead to a nasty shock. Be especially careful with screwdrivers or other metal tools.
-
Step 4
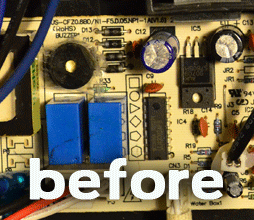
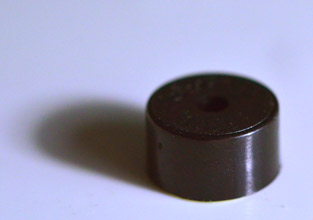
Remove the buzzer. When I first got to this step, I wasn't sure how to proceed without causing irreversible damage. With a little experimentation, I realized that the buzzer was made up of 3 pieces: the soldered base, a plastic cylinder, and the piezoelectric disc. If you just pop off or unscrew the black cylinder, you'll be able to easily remove the small piezo-electric disc since it's not glued or soldered. I'd reccomend keeping it. I wrapped both pieces in some tape and taped it to the outside of the control box, in case I ever wanted the beeping to return (HA!).

-
Step 5
Close the circuit box and reinstall the side panel. First, make sure to replace the the black, plastic control circuit cover. Then, recconect the indicator light cable from Step 2. Next, replace the large side panel. This can get tricky since the parts must be aligned just right and then snapped into place. Be careful not to break anything. Before replacing the screws, plug in the dehumidifier and make sure everything is still working. Lastly, just replace the screws and you're done!